Preparing for an International Bike Tour: How to Fix a Flat on the Go
August 25, 2020
By Cassie Drumm
Recently I’ve been dreaming of my next big international trip. While it may be far off, I know that I would love to explore a city by bicycle. (Perhaps one of these?) Cycling is a great, low impact way to stay active—at home or in a faraway place. And it can be a great way to immerse yourself in the sights and sounds of a new city while traversing the streets quickly and easily.
But cycling in an unfamiliar city does come with risks. You may get a flat tire riding over a pothole on an unkempt street, exploring bumpy terrain or simply by riding a rental bike that has underlying issues. The good news is, you can practice fixing a flat on your bike at home so you can be prepared for a future international bike tour.
Here’s how to fix a flat on the go so you can continue to explore and enjoy whatever city you’re in.
Before You Go
Before you travel anywhere via bicycle, make sure you carry the tools necessary to repair a flat tire. First, you’ll need a spare tube for the specific bike you’re riding. It can be tricky to know what kind of tube you’ll need if you’re renting a bike on-location, so make sure you call the rental service ahead of time to get details on the bikes they use. If you already have your rental bike, or you’re using an owned bike to travel, you can look on the tire to figure out the correct tube size for that bike. You’ll also want to make sure the valve on the tube matches your air pump.
Speaking of air pumps, this is the next thing you’ll need to bring with you on a bicycle tour. There are many different types of air pumps, but to save space you’ll want to find a travel hand pump. Again, make sure the pump you choose fits the valve on your specific tube.
Some other tools that are helpful in repairing a flat are: A tire lever to help you pry your flat tire off of your wheel, a flat repair kit to patch holes without replacing your tube and a rag to keep your hands clean and grease-free.
With these tools handy, you can use the following steps to repair or replace your tube and get back on the road.
Step 1: Stop Riding and Let the Air Out
It’s important to stop riding as soon as you get a flat. If you continue to ride with a flat tire it could damage the wheels on your bike. Once you’ve stopped riding, press on your tube valve to let the rest of the air out. This will make it easier to remove the tire.
Step 2: Remove the Wheel

Photo by Trek Bicycles.
If your wheels are quick release, you can easily remove them without extra tools. If you don’t have quick-release wheels, you’ll need to use a wrench to remove the bolt that secures your wheel in place. This may also require detaching your brake line from the brake pads. Alternatively, you can patch a tube as a temporary fix without removing the wheel, but it may take some practice to do this quickly and efficiently.
Step 3: Remove the Tire and Tube

Photo by Fanny Schertzer.
You’ll need to wedge your tire lever between the rim and the lip of the tire to remove it. Once part of the tire moves over the rim of the wheel, you’ll be able to remove both the tube and the tire. Then, remove the tube from the inside of the tire.
Step 4: Find the Source of the Flat
Before deciding whether to patch or replace the tube altogether, you should inspect it to find the source of the flat. The easiest way to do this is to super-inflate the tube with your air pump. You’ll be able to hear or feel where the air is leaking out once you’ve inflated it. This will also give you a good sense of whether you’ll be able to repair your tube. If the air is leaking out slowly, you may be able to find and patch the source of the leak without replacing the tube. But if there’s a large tear in the tube or around the valve, you’ll need to replace it entirely.
You’ll also want to make sure to inspect the tire before replacing your tube to make sure that the source of the flat isn’t still embedded in the tire.
Step 5: Replace the Tube, Tire and Wheel
Whether you’ve patched the old tube or chosen to replace it with a new one, put a little bit of air into your tube before reinserting it into the tire. Then, replace the tire, starting by putting the valve through the valve hole. Work the lip of the tire back onto the wheel rim, using the tire lever if needed.
Next, reinstall your wheel in the same way you took it off. Make sure you tighten it as much as you can and give it a tug once it’s in place to make sure that it doesn’t feel loose. If you’re using a quick-release wheel, be sure that the handle is in the closed position before attempting to ride. Also, be sure to reattach your brake line to your brake pads, if necessary.
Step 6: Inflate and Ride

Some cyclists like to inflate the new tube and let all of the air out one time before riding. Doing this may work out any areas of the tube that become pinched. Once you’ve inflated your tube and released the air once, inflate again until it’s very firm. Put the valve cap back on once it’s inflated properly.
Lastly, be safe while riding away! If you’re riding a rental, make sure to let your rental company know if you had to repair or replace a tube. If you’re riding your own, be sure to visit a bike shop when you can to check for any other damage that may have occurred when getting a flat.
Related Posts
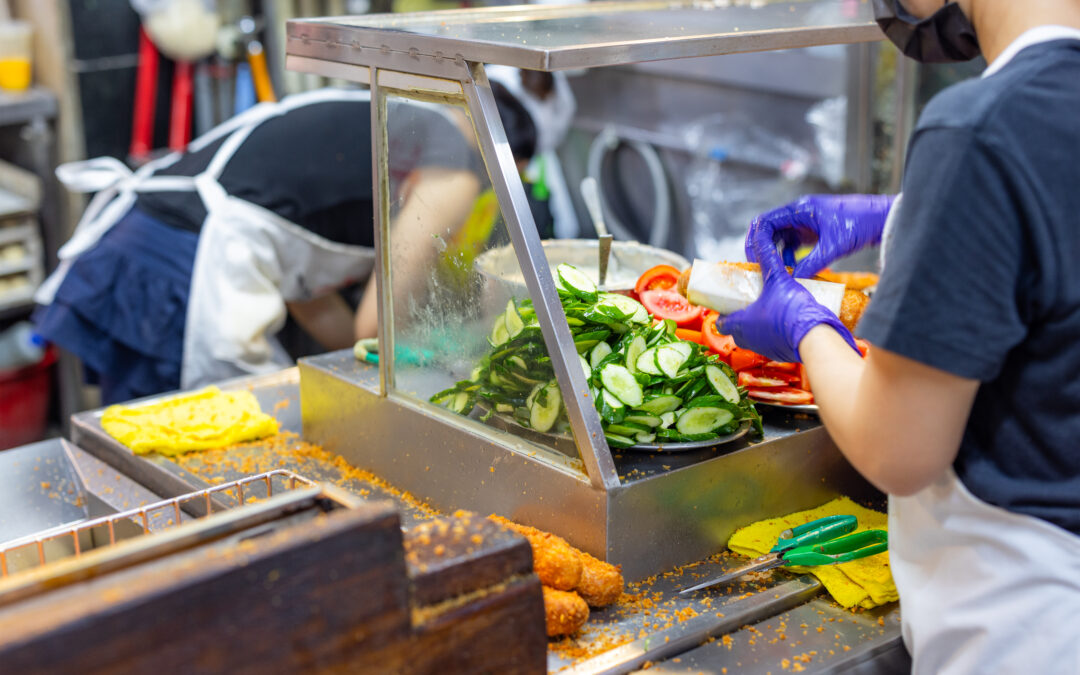
How to Avoid “Traveler’s Tummy” and Protect Your Gut Health
Traveling sounds like the best way to spend your time off until you experience traveler’s tummy, turning your vacation into a spiral of digestive concerns. If you’ve been in and out of the bathroom after eating a local delicacy on the street, you’ve likely eaten...
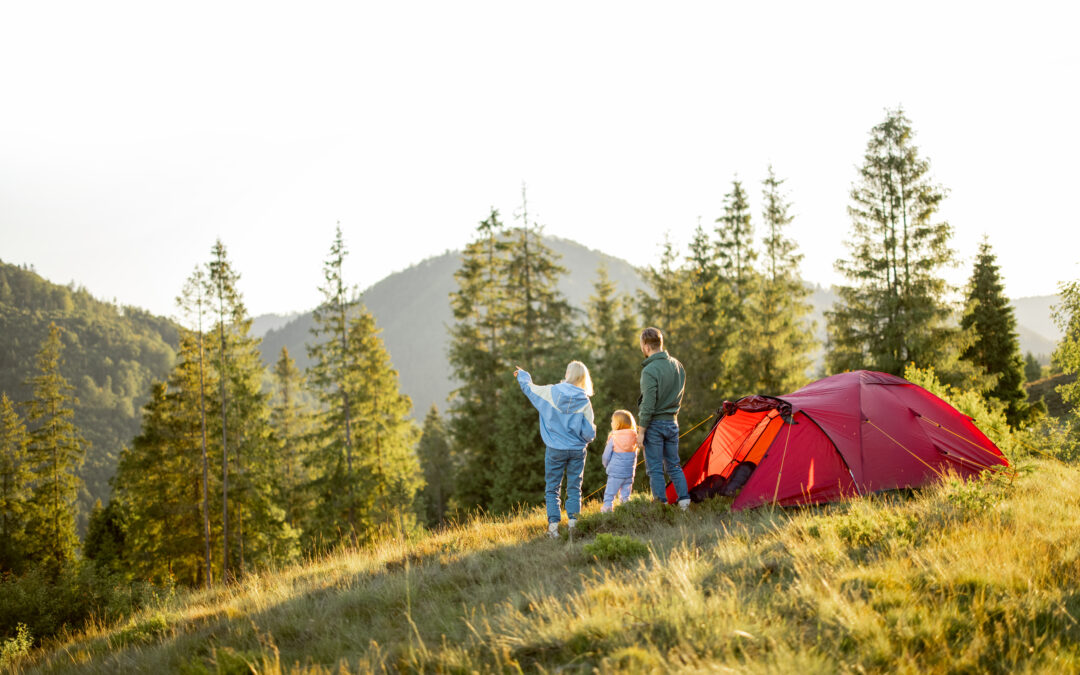
5 Tips to Prepare for a Restorative Outdoor Escapade With Your Family
image source Sometimes, everyone from mom and dad to the littlest kids, needs a nice vacation from everyday life. Are you a family that feels like they need a break? Then it’s time to grab your loved ones and have a restorative...
About the Author

Cassie Drumm
Cassie is a healthy travel enthusiast and writer at Scribewise who resides in Philadelphia. Her favorite places to travel are anywhere she can be outside, bring her dog, and eat delicious vegan food.